A $10K Appliance Package and $200 Shelves Helped Me Save on My Toronto Kitchen Reno
Plus a chic solution for overhead spotlights.
Published Jun 16, 2022 4:30 PM
We may earn revenue from the products available on this page and participate in affiliate programs.

In Renovator’s Notebook, homeowners open up about the nitty-gritty of their remodels: How long it really took; how much it actually cost; what went horribly wrong; and what went wonderfully, serendipitously, it’s-all-worth-it-in-the-end right. For more tips to nail your next project, follow @reno_notebook.
Location: Toronto
Total cost: $62,045
Top priority: Create a spacious cooking and entertaining zone that everyone in the family (and extended family!) can enjoy.
Most people would never dare buy a house after touring it once…in the dark. But most people aren’t third-time homeowners-slash-renovators and seasoned real-estate sleuths Wendy Lau and her husband, Kwan. “We aren’t novices,” attests Wendy. Before the couple purchased their new home, a classic 1980s build in the suburbs of Toronto, they had done their research—Wendy even knew which direction the sunlight hit in that neighborhood. They toured the place as soon as they could at 8 p.m., and by 11:30 that same evening they had drawn up the contract. “It was a whirlwind romance,” she recalls. And even though she hadn’t walked through the house with her engineer before committing, she crossed her fingers that they’d be able to move the kitchen into the adjacent solarium. Everything hinged on that.
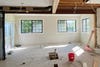
“The cabinetry didn’t make sense [where it was]. In fact, in my opinion, it was dangerous to walk into,” recalls Wendy. The former cooking zone was a tight squeeze and pretty much inaccessible for her father, who is in a wheelchair, and other family members who need walking assistance. Once the couple got the green light to build out a new space and tear out the old one, they started work on designing the new cabinets using IKEA’s rendering tool, stocked up on wish-list brass hardware from DeVol, added faux ceiling beams with a super-functional purpose, and more. The whole project totaled $62,045 CAD, which is pretty on par with a remodel of that scale in a city with a high cost of living. (Psst: You can peep the full budget breakdown here.) Ahead, in her own words, Wendy takes us through the great and the gritty of the reno.
Save: IKEA Hacked Cabinets, the Canadian Way
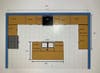
Having lived with different types of kitchens, I knew how I wanted to lay this one out, how much counter space I needed, and how wide it needed to be to accommodate two or more people cooking in it. My husband and I sat down and mapped it out in IKEA’s platform together and ordered the bases, for a total of $1,300.
Kwan and one of his best friends knocked out the assembly in one evening. Then we bought the Angela Rose Slim Shaker Detail doors from Canadian manufacturer Nieu; that came to $6,300. It only cost another $250 to have the company spray the fronts in a custom color (we went with Natural Tan by Sherwin-Williams).
Splurge: Hardy Drawers

In addition to the Nieu doors, we opted for solid wood drawers with a dovetail detailing from the brand (approximately $4,550). IKEA’s drawers are slightly less expensive, but they’re made of MDF, and I wanted something that was more structurally sound because we put a lot in there: stoneware, pots and pans—they have to hold up. In the end, our cabinets only cost around $1,400 more than if we had gone fully with IKEA. That allowed me to feel good about having something custom without breaking the bank.
Save: Box Beams

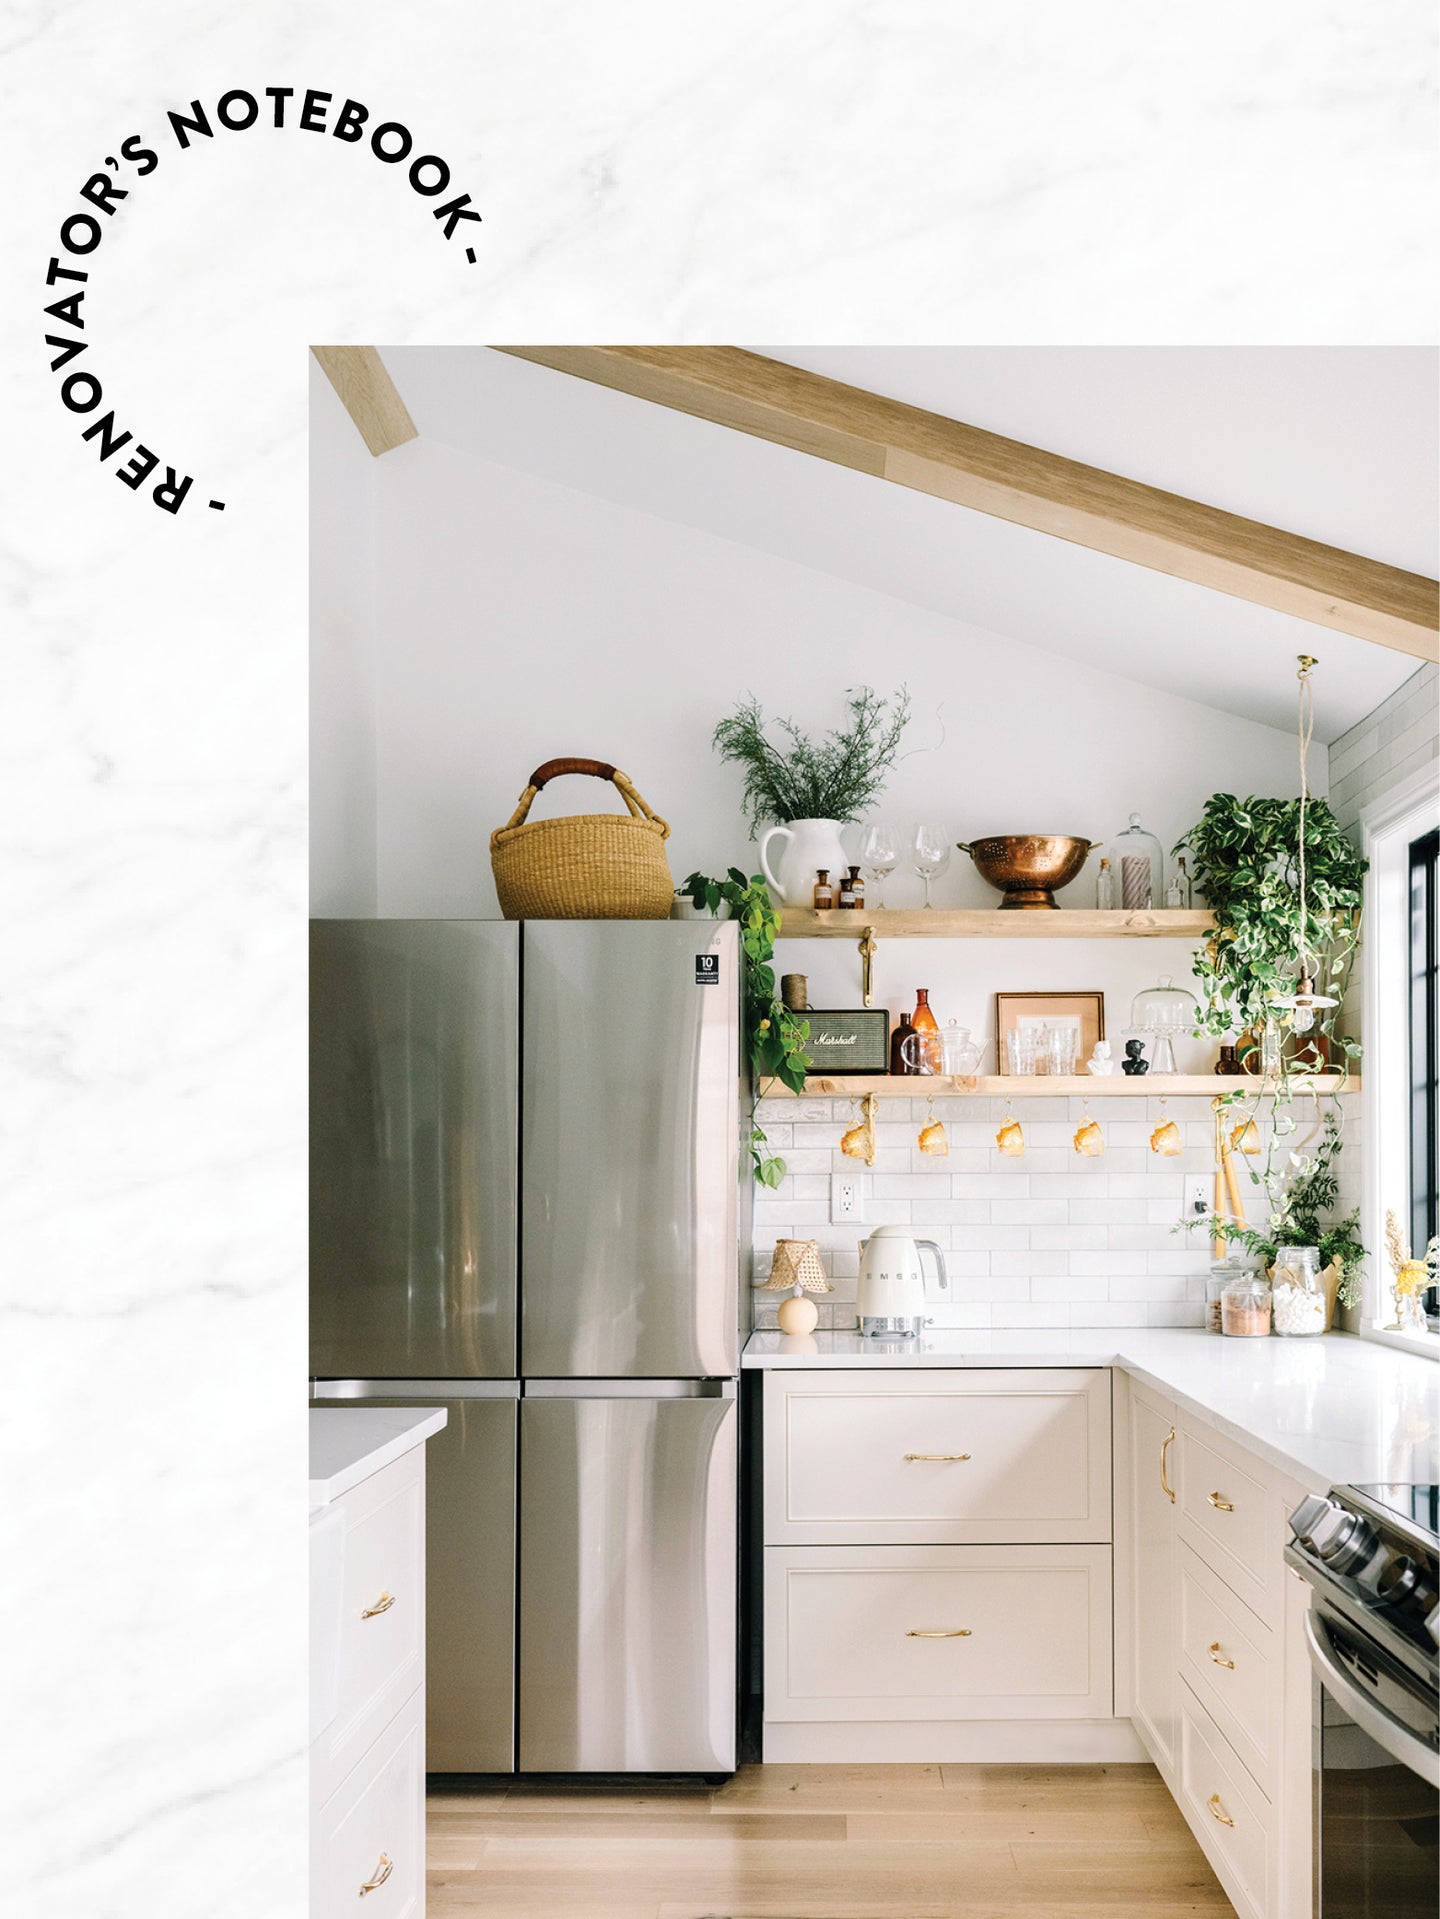
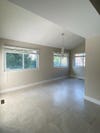
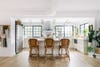
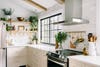
The solarium, with its beautiful pitched roof, was the room that convinced us to put an offer on this house to begin with. We were debating between [accenting it by] adding skylights or solid beams, but both options would have cost a pretty penny, plus my contractor brought up a great point: How would we do lighting? Sconces are trendy right now, but I knew I needed overhead lighting to cook, so we decided to cleverly hide the wiring by creating hollow boxes wrapped in the same engineered hardwood we used for the floors.
Splurge: That British Look

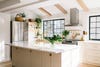
Because I budgeted carefully on the cabinets, I was able to splurge on hardware (I like to say I spoiled the kitchen). There’s something to be said for going back to where the brass trend came from, which is established English design houses like DeVol. I went with its Ionian Tap product with a rinser ($1,475)—it’s the first thing you see when you walk into the house. Plus it didn’t make sense to cheap out on something that could potentially lead to water damage. I’ve heard from other designer friends who bought dupes that they’ve had leaking issues.
Save: Hardware Store Shelving

There are similarities between all of my kitchens. One of them is subway tile and the other is open shelving. I’ve made my own open shelves for every kitchen we’ve had. It’s just so cheap. This time I went to Home Depot, grabbed a plank of thick knotty pine for around $50, sanded them, stained them, and mounted them with brackets I bought off Etsy, bringing the DIY to $200.
Splurge: Energy-Saving Windows
Kwan was willing to oversee the not-so sexy stuff like swapping out the old windows with new energy-efficient ones from Comfort Windows and Doors ($4,500). Anything to do with reducing our consumption of water, heating, or electricity…that’s all him.
Save: Appliances That Arrive ASAP
We wanted to host as soon as possible, especially after the pandemic. Kwan and I hoped to go with the Café appliance line, but when push came to shove, we realized it would take months for them to arrive. Instead we picked up what was available at the time: a Samsung package (fridge, oven, range hood, dishwasher) that rang in at $10,100. I drool over $20,000 ranges just as much as the next girl, but I also really enjoy having an air fryer in my oven and a water dispenser. We’ve already been able to host Christmas and Chinese New Year in this space, because at the end of the day, this kitchen was meant to serve our family and community.